
Document Liveness Detection SDK: How to Add It to Your KYC Flow (Server & Mobile)
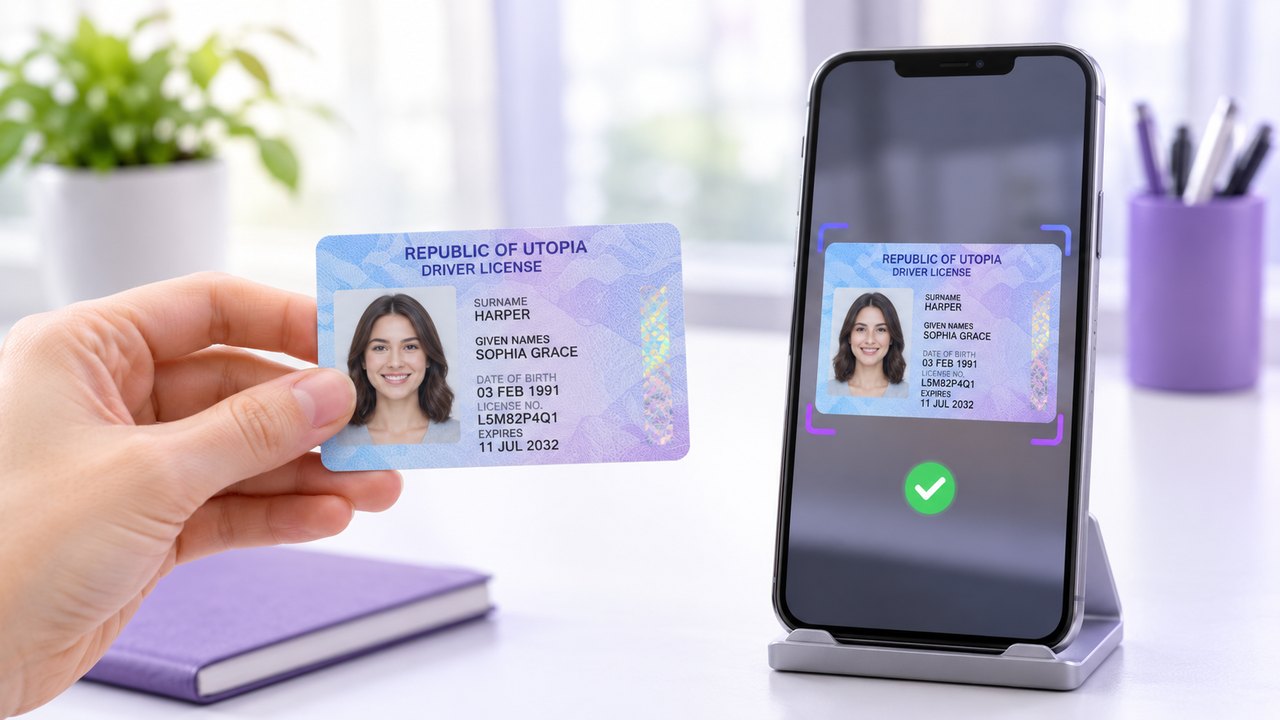
Reading the data on an ID is only half of document verification. A passport displayed on a monitor, a printed photocopy, or a re-photographed image can all carry perfectly readable, even accurate-looking data, and a flow that only extracts fields has no way to tell the difference. That is the gap a document liveness detection SDK closes.
This guide covers the implementation side: where document liveness fits in a KYC flow, the two ways to integrate FacePlugin’s ID Document Liveness Detection SDK (a REST API in Docker on your own server, or a license-gated feature inside the mobile and cross-platform document recognition SDKs), what to do with the result, and what to test before going live. For background on how the technology itself works, start with our explainer on ID document liveness detection.
What a Document Liveness Detection SDK Does
A document liveness detection SDK answers one question: is the document in front of the camera a genuine physical original? It looks for screen replays (an ID shown on a phone, monitor, or projected surface), printed copies and photocopies, digitally generated forgeries, and portrait substitution. FacePlugin’s SDK checks photo origin, physical-document characteristics, digital-source signs, and security patterns, and it works on both the front and back of multi-page documents.
It does not read the document, and it does not confirm that the person presenting it matches the portrait. Those jobs belong to document recognition and to face matching with selfie liveness, which is why document liveness is one stage in a pipeline rather than a complete KYC solution on its own.
Where It Fits in a KYC Flow
Put the authenticity check at the moment of capture, before you trust anything extracted from the image. A typical order looks like this:
- Capture – the user photographs the front, and the back where needed, of the ID.
- Document liveness – confirm it is a genuine physical document, not a screen, printout, or copy.
- Document recognition – read the fields through OCR, MRZ parsing, and barcode decoding with the ID Document Recognition SDK.
- Selfie and face match – compare a live selfie to the portrait on the document.
- Decision – approve, ask for a retry, or route to manual review.
Running liveness first means a spoofed document is stopped before it uses up OCR, matching, or review time. The whole sequence is packaged in the ID Verification SDK Suite. The check runs during the normal capture step, so genuine users have nothing extra to do.
Two Ways to Integrate It
How you add document liveness depends on where document capture happens in your product.
On Your Server: Linux and Docker
The standalone ID Document Liveness Detection SDK for Linux ships as a Docker container with a REST API. It runs on CPU only, with no GPU required, and document images never leave your environment. It targets linux/amd64; Docker also runs it on Windows and macOS hosts, and a native install needs glibc 2.38 or newer. The setup in short:
- Pull the image (faceplugin/document-liveness:latest) and run it on port 8086 with a 2 GB shared-memory allowance. On Linux hosts, mount /etc/machine-id; skip that on Docker Desktop. The documented command also uses Docker’s privileged mode, so check that against your own container-security policy.
- Confirm it is up with GET /api/health.
- Read the machine code with GET /api/machinecode (it is also in the startup log) and send it to FacePlugin to receive a license key.
- Activate with POST /api/activate, sending the license key as plain text.
- Check a document with POST /api/documentLiveness, sending a JSON body with an images array of base64-encoded images, front first and back second.
Licenses are bound to the machine code, so a Docker install and a native install get different keys. Request the key for the environment that will actually run in production. The full source is public in the ID-Document-Liveness-Detection-Docker repository, and the request and response details live in the FacePlugin documentation.
On Mobile and Cross-Platform: Inside Document Recognition
On Android, iOS, Windows, Flutter, React Native, and Ionic, document liveness is not a separate product. It is a license-gated feature of the ID Document Recognition SDK for that platform, so one integration gives you both reading and authenticity checks. The pattern is the same everywhere: activate with your license key, initialize the SDK, then call recognition with authenticity turned on. On Android, for example, the recognize call takes the front image, the back image, and an authenticity flag, and returns a JSON result; setting the flag to true also runs the document liveness checks.
Mobile licenses are offline too, but they are bound to your app’s application ID or bundle ID rather than a machine code. Start from the page for your stack: Android, iOS, or Flutter.
Server or On-Device?
Neither is better in every case. The right choice follows from where capture happens.
- On-device gives instant feedback while the user is still pointing the camera, so a bad capture can be retaken on the spot, and the image does not have to leave the phone for the check.
- On your server fits web flows, back-office uploads, and any case where images already arrive at your backend. One container is also easier to update and monitor than every installed app version.
You can also combine them: on-device checks for live capture in the app, and the Docker service for uploads and re-checks. Either way, processing stays on infrastructure you control, and there are no per-call fees once licensed.
Handling the Result
The service returns a structured result, and the documentation lists the exact fields for your version. What matters more is the policy you build around it:
- Fail the capture, not the user. On a negative result, ask for a fresh capture with simple guidance first. Many failures come from glare, shadows, or a smudged lens.
- Cap the retries. Allow a few attempts, then route the session to manual review or another channel.
- Keep an audit trail. Log the result, timestamp, and attempt count against the session so review decisions can be explained later, and set a clear retention rule for the images themselves.
- Keep the message generic. Show something like “We couldn’t verify this document” instead of naming the signal that failed, so attackers can’t tune their attempts against it.
Capture Tips That Reduce False Rejections
- Use even lighting and avoid glare, especially on laminated cards and passport pages.
- Place the document on a flat, plain surface and keep all four edges inside the frame.
- Capture both sides when the document has a back.
- Show an on-screen frame and live guidance so users know when the image is good.
- Ask for the physical document itself, not a scan or a screenshot.
What to Test Before Going Live
- Genuine documents from the countries you serve, in different lighting and on low-end phones.
- Your own spoof samples: test documents you are entitled to use, shown on a screen, printed, photocopied, and re-photographed.
- Both sides of each document, plus worn or slightly damaged cards.
- License activation in the real production environment, since machine codes differ between Docker and native installs.
- Response time and capacity on your actual CPU-only server under realistic load.
- The retry and manual-review paths, end to end.
Licensing and Cost
Licenses are offline and bound to a machine code, application ID, or bundle ID, and no images or biometric data are sent to FacePlugin for activation or inference. There are no per-call fees once licensed, so the cost does not grow with every verification. You can start with a 15-day evaluation; see pricing or contact the team for a key.
Putting It Together
Document liveness is one layer of a complete flow. Reading the data is covered in ID Document Recognition Explained, and confirming the person is live and matches the portrait is the job of the Face Liveness Detection SDK together with face matching. Across industries, this supports Customer Onboarding & eKYC and Fraud & Deepfake Prevention.
Conclusion
A document liveness detection SDK is simplest to adopt when you decide early where capture happens. Use the Docker service when images arrive at your backend, use the document recognition SDK on mobile when you want instant on-device feedback, and build a retry and review policy around the result. Start with the ID Document Liveness Detection SDK page, then try it against your own test documents before you roll it out.
Advanced Biometric Solutions at FacePlugin
Transform the way you secure and verify identities with FacePlugin’s on-premises face recognition, face liveness detection, deepfake detection, and ID document recognition SDKs – engineered to keep identity verification secure, private, and fully under your control.
Talk to Our TeamDeploy identity verification AI on your own terms
Talk to our team about on-premises face recognition, liveness, deepfake, and ID document verification — or dive into the documentation.